How to Populate Word Document generation Using Power Automate?
Introduction
Businesses today are all about speed; the faster you can complete a task, the more revenue you’ll get. This is why they’re in constant search for finding ways to automate tasks. One search labor-intensive work is filling up Word documents.
When you have a multitude of Word documents to work on, it is not feasible to spend your time on them individually, especially when they’re repetitive. Fortunately, coding techniques like C# and Python offer Word document automation solutions. Another powerful tool for simplifying Word document automation is Microsoft Power Automate.
Power Automate, previously known as Microsoft Flow, is a SaaS tool built for line-of-business users to automate time-consuming and repetitive processes into step-by-step workflows that work across different applications and services.
These workflows perform automatically in the cloud and can be triggered by events, scheduled to run at specific times, or initiated manually by users.
How Does Power Automate & Word Integration Benefit Document Generation?
Both Power Automate and Word belong to Microsoft’s suite of business tools, which makes them naturally compatible and allows for good integration. This partnership offers several key advantages when it comes to automating Word documents.
Firstly, Power Automate document generation simplifies the process by automating repetitive tasks. You can easily generate Word documents using predefined templates, reducing the time and effort required.
Secondly, Power Automate document generation enhances collaboration by enabling multiple team members to work on a document simultaneously, ensuring real-time updates and efficient collaboration.
Furthermore, Power Automate can connect with various data sources, like Excel or SharePoint, to automatically populate your Word documents with the latest information.
This reduces the need for manual data entry, reducing errors and saving valuable time.
Moreover, Power Automate document generation offers flexibility and scalability, allowing you to automate document generation for a wide range of business processes.
1. Integration with Microsoft Products

Integrating with other Microsoft products means making different Microsoft programs work together smoothly.
Imagine you have a toolbox, and each tool is a different Microsoft program like Word, Excel, and Outlook. When these tools can talk to each other, it’s like they become even more powerful.
For instance, you might create a document in Word, and with integration, you can easily send it via Outlook or pull data from Excel without copy-pasting.
This integration saves time and reduces errors because you don’t need to re-enter information or switch between programs manually. It’s all about making your work smoother and more efficient by connecting these familiar Microsoft tools.
2. Uses pre-built templates and connectors.
Templates are like forms or blueprints for different documents or tasks. Instead of starting from scratch, you can use these templates as a starting point.
For example, if you need to create a report, there might be a template with all the headings and sections ready. You just fill in the details, like your name and the report’s content.
Connectors, on the other hand, are like bridges between different apps. They help these apps talk to each other. If you want to share a file from OneDrive with your team in Teams. A connector can make this happen seamlessly. It’s similar to having a tool that effortlessly connects things together without requiring you to do all the groundwork.
Templates and connectors save you time and make your work easier.
3. Automates the entire process of generating Word documents
Automating the process with Power Automate means you can produce many documents quickly, accurately, and consistently without the need for manual effort.
Here’s how it works:
- You set up a set of instructions or rules in Power Automate, telling it how these Word documents should be created. You specify things like where to get the data, what should go where in the document, and how it should look.
- Once you’ve set these rules, you can start the process with a click or have it run automatically at certain times.
- Power Automate then follows these rules precisely. It collects the necessary information from your data source (like names, dates, or product details), puts everything in the right places in your Word document, and formats it according to your instructions.
- The end result is a complete Word document, and it can even be saved in a specific location or format, like a PDF, without you having to do anything manually.
Before we dive into the step-by-step process of generating documents with Power Automate, let’s explore its primary advantages and limitations.
Advantages:
- Power Automate document generation within the Microsoft ecosystem, makes it accessible and user-friendly.
- It’s great for quick, simple tasks and seamlessly integrates with Microsoft tools.
- This is perfect for businesses already using Microsoft 365, as it requires minimal setup and offers cost-effective automation for routine documents.
Limitations:
However, Power Automate has limitations.
- It struggles with complex document layouts and lacks advanced customization options.
- Compliance can be challenging for highly regulated industries, and costs may rise with extensive usage.
- It’s also tightly bound to Microsoft products, limiting flexibility for organizations with diverse software needs.
For businesses facing complex document generation requirements, especially when tasked with creating over 1,000 dynamic documents daily, relying solely on Power Automate can be a daunting challenge.
In such cases, turning to dedicated document generation software like Perfect Doc Studio becomes the ideal solution. Perfect Doc Studio is a user-friendly, no-code tool that not only simplifies the document generation process but also offers a wide range of features and benefits.
With Perfect Doc Studio, businesses can effortlessly create documents to meet their specific needs.
It provides advanced customization options, ensuring that documents align perfectly with the company’s branding and requirements.
Moreover, its intuitive interface makes it easy to learn and use, reducing the time needed for training. Ultimately, the choice between Power Automate and dedicated software depends on the specific requirements and goals of your organization. Try it for free now.
Step-by-Step Guide to Power Automate Document Generation for Populating Word Documents
1. Preparing a Word Template for Power Automate document generation
If you need to generate lots of documents that have some common parts but also some unique information.
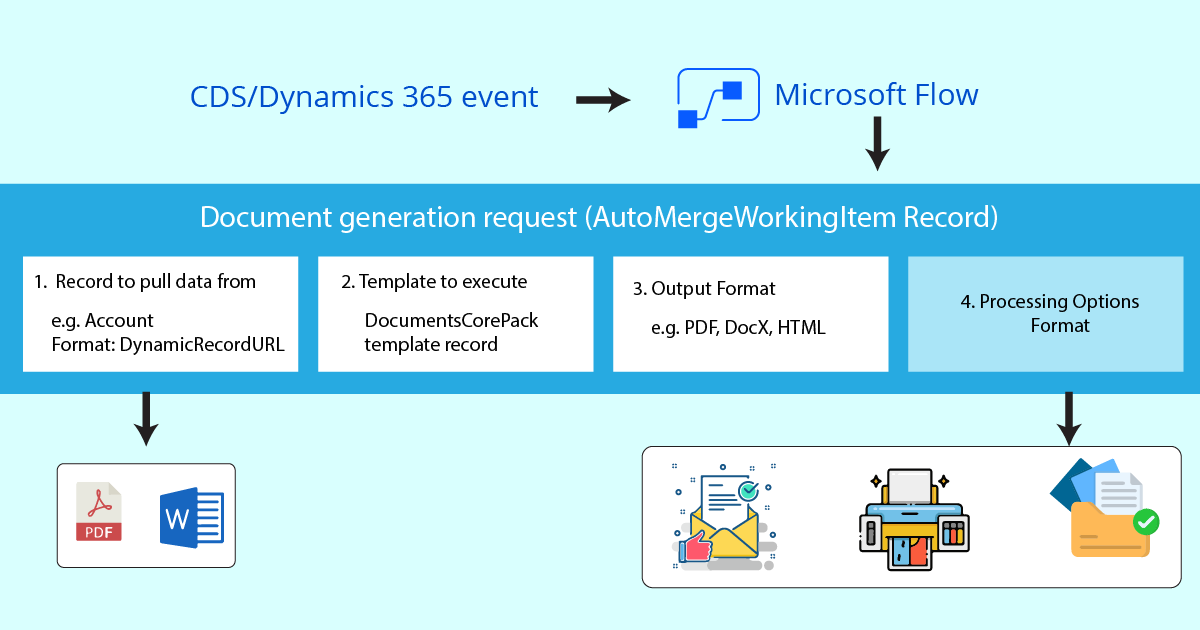
For example, you’re making business quotations for different people, and each Business quotation has a different recipient’s name, date, and signature. Instead of creating each business quotation from scratch every time, you can prepare a template.
Why? Because it saves you time and keeps things consistent. By adding placeholders for the parts that change (like the recipient’s name), you make it easy to fill in those details later.
This way, you don’t have to redesign the entire document repeatedly, and all your business quotations look the same, just with the individualized information.
a) Creating a business quotation template in Word
If you need to create business quotations, like the ones you send for products or services. Here’s how you can create a template:
- Open a Microsoft Word account and create a new document.
- Design your quotation with a professional layout or any style you prefer.
- Consider the sections that will change for each business quotation, such as the client’s name, the pricing, and terms.
- To simplify future edits, insert specific placeholders. These act like blank spaces for filling in details later.
- For the client’s name, use a placeholder like “Client’s Name,” and for the pricing, something like “Price.” Leave space for other details.
- Once your template is ready, save it.
Now, you have a template where you can effortlessly replace the placeholders with actual client names, prices, and terms when creating a new business quotation. This approach saves you from starting from scratch with every quotation.
b) Saving the template as a .dotx or .docx file and upload it to SharePoint or OneDrive
Alright, you’ve got your template, and now you want to make it available for others or use it from different places, like SharePoint or OneDrive. Here’s how:
- Go to the “File” menu in Word and select “Save As.”
- Choose where you want to save it, like your computer, OneDrive, or SharePoint.
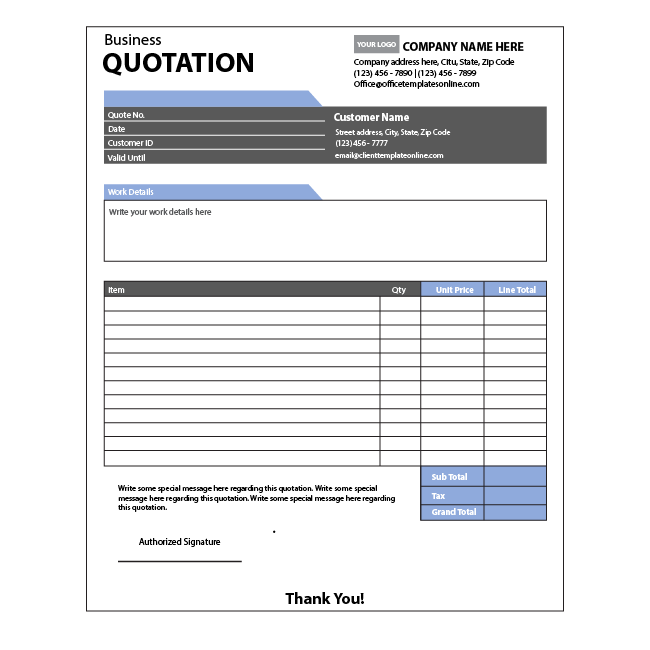
- Now, the important part: Save it as a “.dotx” (Word Template) or “.docx” (Word Document) file. If you save it as a “.dotx,” it stays as a reusable template. If you save it as a “.docx,” it’s a regular document.
- Give it a clear name, so you can easily find it later.
- Click “Save.”
Now, you’ve stored your business quotation template where you want, and you can use it whenever you need to create a new business quotation.
2. Instructions for setting up a data source and adding the recipient information
Here’s how you can set up your data source and add recipient information:
For SharePoint Lists:
- Go to your SharePoint site.
- Create a new list or you can use an existing one.
- Add columns for the recipient name, date, and other details you need.
- And then Start filling in the information for each recipient.
To learn more click here.
For Excel Files:
- Open Excel and create a new spreadsheet.
- Label your columns with headers like “Recipient Name,” “Date,” and so on.
- Enter the recipient information row by row.
To learn more click here.
For Microsoft Forms:
- Go to Microsoft Forms and create a new form.
- Add questions for recipient details like name and date.
- Share the form with the people whose information you need. They’ll fill it out for you.
To learn more click here.
Now, you’ve got your data source ready with all the recipient information. This makes the process much smoother and helps you avoid mistakes when filling in the certificates later on.
3. Creating a Flow in Power Automate document generation to Populate Word Document
Creating a flow in Power Automate is like giving your computer a set of instructions to do things automatically. Here’s how you can start:
- Go to Power Automate: Open Power Automate in your web browser.
- Create a Flow: Click on the option to create a new flow.
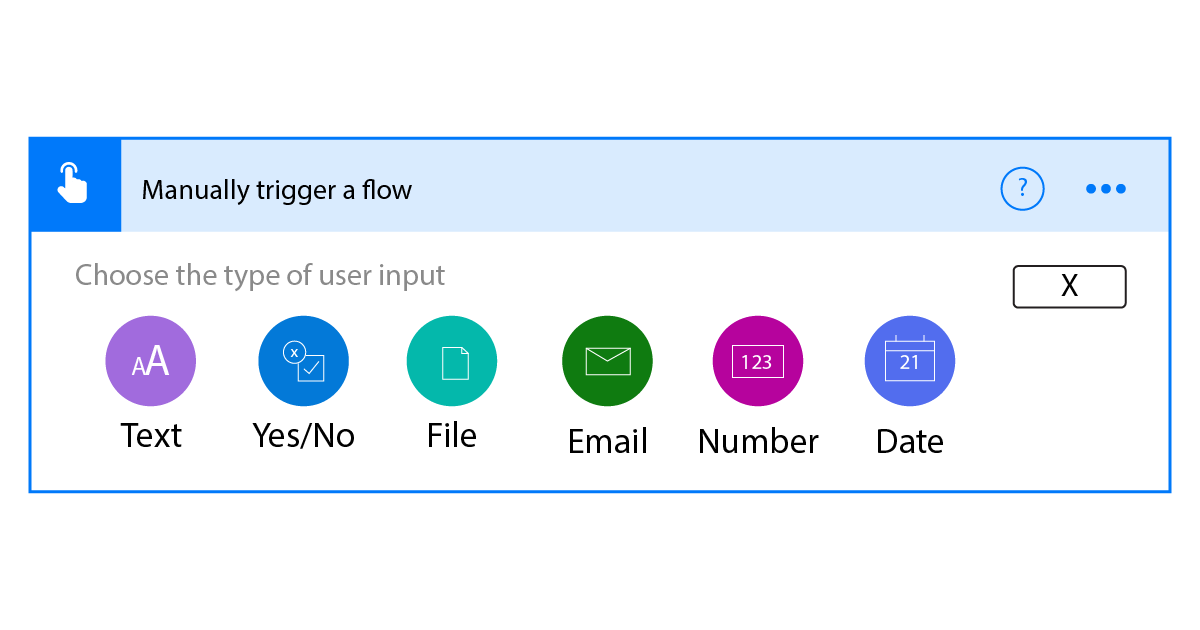
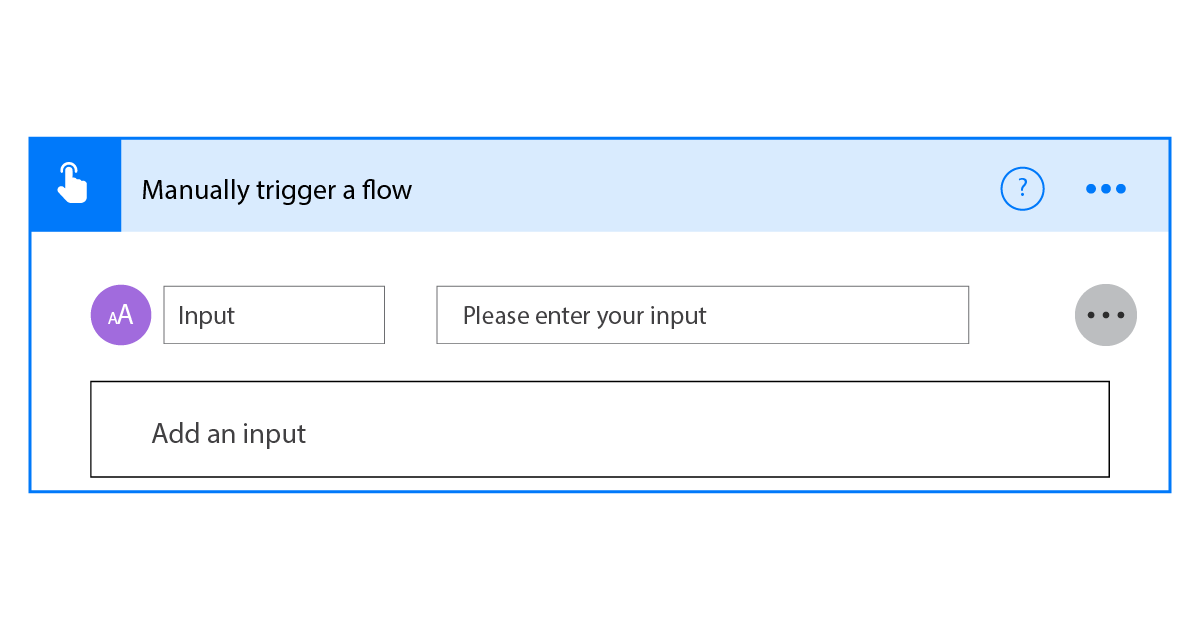
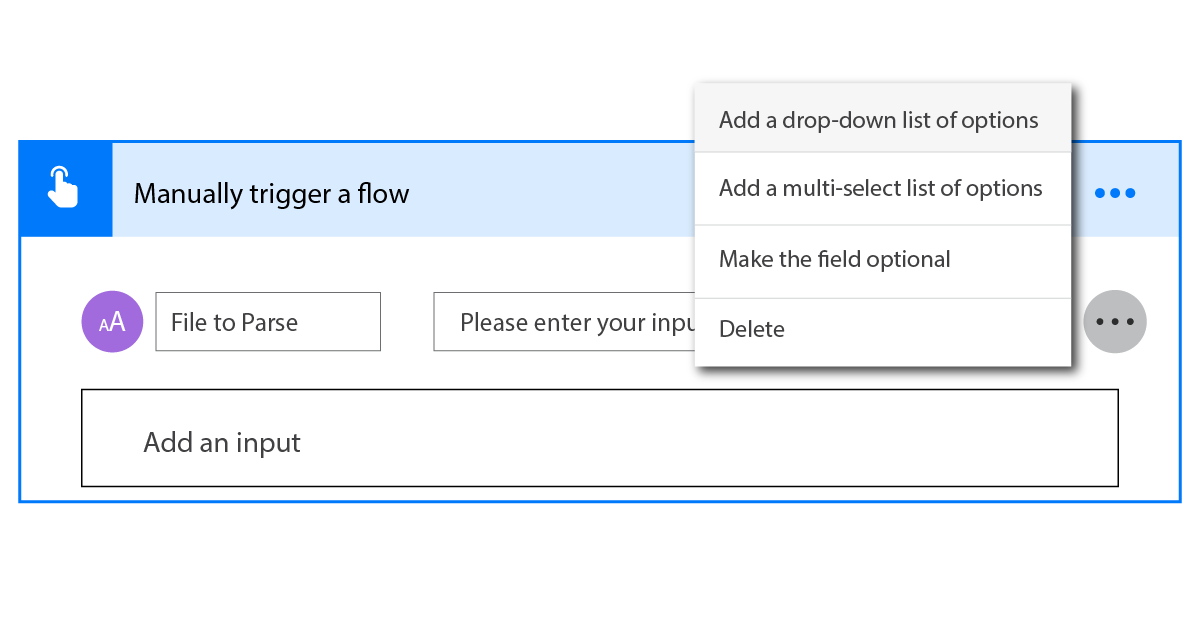
- Choose a Trigger: Now, you need to tell your flow when to start. You can choose a manual trigger, which means you start it when you want, or a scheduled trigger, where it starts automatically at specific times.
4. Step-by-step Actions in Flow: Data Retrieval, Template Fill, PDF Save
Once you’ve got your flow started, you need to tell it what to do step by step. Here’s how you can do it:
- Getting Data from the Data Source: Your first step is to get the recipient’s information from the data source you set up earlier (like SharePoint or Excel).
- Click “Add an action” in your flow.
- Search for the data source you’re using (like SharePoint or Excel).
- Choose a specific action, like “Get items” or “Get rows.”
- Connect to your data source and specify what data you want to retrieve.
- Populating the Word Template with Data:
Now, you’ll tell your flow how to put that data into your Word template.
- Add another action to your flow.
- Look for “Word” or “Office” as the connector.
- Choose an action like “Populate a Microsoft Word template” or similar.
- Connect to your Word template and map the data fields (like the recipient’s name) to the placeholders in your template.
- Saving the Resulting Business quotation as a PDF: Your final step is to save the Business quotation as a PDF, so it’s easy to share or print.
- Add one more action to your flow.
- Search for “PDF” or “Convert to PDF.”
- Select the action that saves your document as a PDF.
- Specify where you want to save it, like OneDrive or SharePoint.
Now, your flow operates efficiently, handling recipient information, completing the template, and saving it as a PDF. You can utilize this flow whenever you require it, simplifying your tasks, similar to having an efficient assistant.
5. Customizing and Enhancing the Flow
Consider you’re enhancing your flow with extra capabilities. These advanced features are like unique components that can amplify your flow’s capabilities.
Conditional Logic:
Think of conditional logic as the decision-making part of your flow. It allows your flow to act differently based on specific conditions. For instance, when creating business quotations, you can use conditional logic to ensure that each quotation suits the client’s unique needs.
- If a client needs a standard quotation, the flow can include regular pricing and terms.
- However, if it’s a special case, conditional logic can add a section for “Special Offers” with customized terms and pricing.
Dynamic Content:
Now, imagine you want to personalize these quotations even further, like including the client’s name in various places, such as the greeting and the closing. Dynamic document generation an essential feature in document automation, enables you to do this smoothly.
- You can use the client’s name from previous steps in your flow and place it wherever needed in the document. For instance, you can create a customized greeting at the beginning and a personalized closing at the end.
It’s the same as having a memory that automatically inserts the right information in all the appropriate spots, making each business quotation feel tailored to each client.
6. Testing and Troubleshooting the Flow
Testing your flow is like giving it a practice run to make sure it works as expected. Here’s how you can do it:
- Manual Testing: You can start your flow manually, just like flipping a switch. Go to your flow in Power Automate and click the “Run” button. This lets you see how it works without waiting for it to run automatically.
- Trigger Testing: If you’ve set your flow to run on a schedule, you might want to check if it’s starting when it should. This is like making sure your alarm clock goes off at the right time. If not, you may need to adjust the schedule.
- Check for Errors: After running the flow, check for any errors or issues in the flow’s run history. Think of this like looking at a report card to see if everything’s okay. If there are errors, you’ll need to fix them before using the flow for real tasks.
Troubleshooting Common Power Automate Document Generation Issues
Sometimes, things might not go as smoothly as you’d like, but here are some common issues and how to troubleshoot them:
Data Errors: If your flow is not getting the right data from your data source, double-check the connections and make sure your data source has the correct information.
Template Problems: If your Word template isn’t populating correctly, review the mapping of your data to placeholders. Ensure that the template and placeholders match the data source.
File Saving Issues: If your flow isn’t saving the document or saving it in the wrong place, verify the file-saving step in your flow. Ensure you have the correct permissions to save the file in the chosen location.
Permissions: Sometimes, access permissions can be a roadblock. Make sure you have the necessary permissions for all the services and files involved in your flow.
Flow Errors: If your flow fails or encounters errors, the flow’s run history will provide details about what went wrong. Use these error messages as clues to troubleshoot and fix the issues.
Troubleshooting the Power Automate document generation is similar to problem-solving. You examine each aspect to identify what might not be working correctly. Being patient and using a bit of detective work usually leads to a solution. Don’t worry, most common issues have solutions, and you’ll become skilled at troubleshooting with practice.
Conclusion
In wrapping up, Power Automate document generation offers a convenient solution for businesses seeking to efficient document creation within the Microsoft ecosystem. Its user-friendly interface and perfect integration with Microsoft tools make it an excellent choice for quick and simple document automation tasks.
The process of using Power Automate involves setting up flows, linking data sources, and automating document generation, making it suitable for tasks like producing invoices, reports, and customer communications.
However, it does have limitations, particularly in handling complex document layouts and advanced customization.
On the other hand, dedicated document generation software shines with features like drag-and-drop simplicity, zero coding skills required, support for localization, and the ability to create custom templates. This makes it an ideal choice for businesses with intricate document needs, offering precise control and scalability for extensive document generation demands. Ultimately, your choice should align with your specific requirements and goals.
How to Generate Word Document using C#?
Do you dislike spending countless hours manually preparing and typing documents? Do your Word docume
What is PHP PDF Generator? How to Generate PDFs with Php: A step-by-step guide
One of the reasons you might enjoy PHP so much is because it consistently supports new technologies.
Improving efficiency in the contract creation process
Contracts are the legal basis for all of the business interactions between a company and its custome


